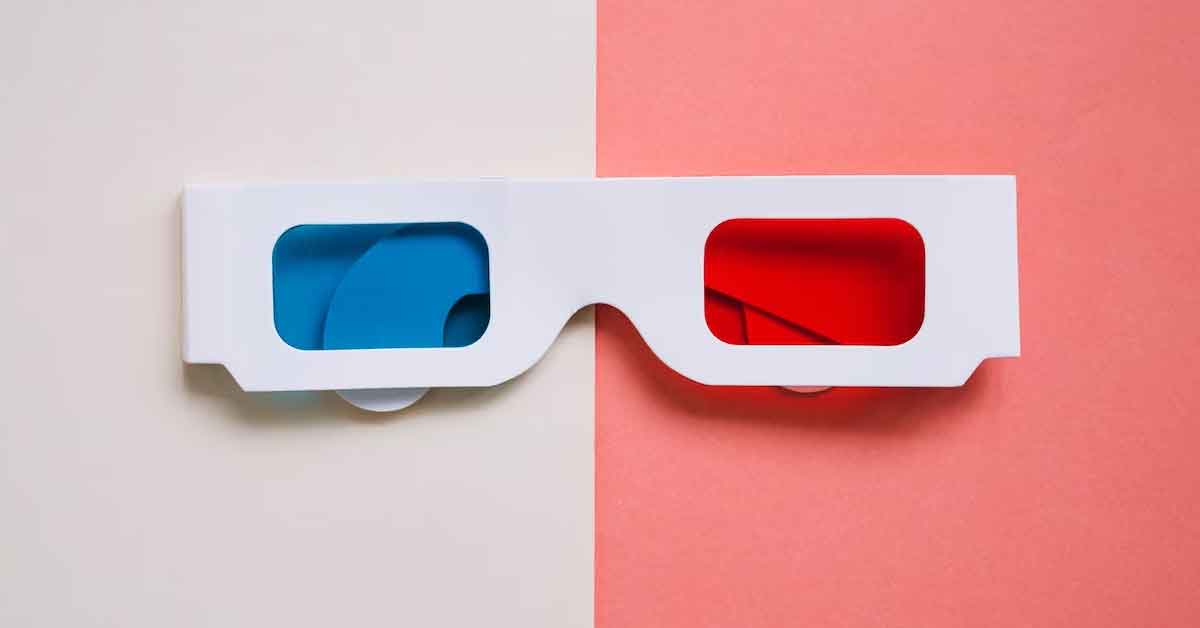
Introduction: If you’ve ever wondered how to experience the magic of 3D imagery without expensive equipment, anaglyph paper 3D glasses are the perfect solution. Anaglyph glasses use special filters to create the illusion of depth and bring images to life. In this article, we will guide you through a simple and fun do-it-yourself (DIY) project to make anaglyph paper 3D glasses right in the comfort of your own home.
Materials Needed: To get started, gather the following materials:
- Cardstock or heavy paper: Choose a sturdy material to ensure durability.
- Red and cyan (blue-green) colored filters: These filters create the distinctive red-cyan effect that makes anaglyph 3D possible.
- Scissors: To cut out the glasses template.
- Glue or tape: To assemble the glasses.
Step-by-Step Instructions:
- Download and Print the Glasses Template: Search online for an anaglyph paper glasses template. There are several available options. Select one that suits your preference and download it. Print the template on a sheet of cardstock or heavy paper.
- Cut Out the Template: Using scissors, carefully cut out the glasses template along the outer edges. Pay attention to any intricate designs or perforations indicated on the template.
- Attach the Filters: Cut two small rectangles from the red and cyan filters, ensuring they are slightly larger than the eyepiece areas on the glasses template. Apply glue or tape to the backside of the filters and carefully attach them to the respective eyepiece areas. Make sure the red filter is on the left side and the cyan filter is on the right side.
- Assemble the Glasses: Fold the template along the indicated lines to create the frame of the glasses. Apply glue or tape to the designated tabs to secure the sides and bridge of the glasses together. Allow the adhesive to dry completely.
- Test and Enjoy: Put on your newly crafted anaglyph paper 3D glasses and find an anaglyph 3D image or video to enjoy. These can be found online or in magazines and books specifically designed for anaglyph viewing. Adjust the position of the glasses on your face until you achieve the desired 3D effect.
Tips for an Enhanced Experience:
- Lighting Conditions: Dim the lights in the room to reduce glare and enhance the 3D effect.
- Distance and Focus: Position yourself at an optimal distance from the screen or image to achieve the best 3D experience. Experiment with focus to find the most comfortable viewing position.
- Quality of Images: Look for high-quality anaglyph images or videos for a more immersive experience. Many movies and videos are also available in anaglyph format.
Conclusion: Creating your own anaglyph paper 3D glasses at home is a fun and affordable way to explore the world of three-dimensional imagery. With just a few materials and some simple steps, you can enjoy the mesmerizing depth and realism of anaglyph images and videos. So, grab your scissors, filters, and cardstock, and embark on this exciting DIY project. Get ready to immerse yourself in a whole new dimension of visual entertainment right from the comfort of your home!

